First, how about a fun fact about our stainless steel garden stake. The prototype was developed in Fall of 2014, we started selling them in the Spring of 2015 and since then have sold over 15000 individual garden stakes making it one of our most popular items ever. Now for the good stuff. What follows is what we feel is the best technique for painting your garden stakes. Its how we paint ours but you don't have to paint them, you can leave them naked! If you do want to paint them just follow these steps.
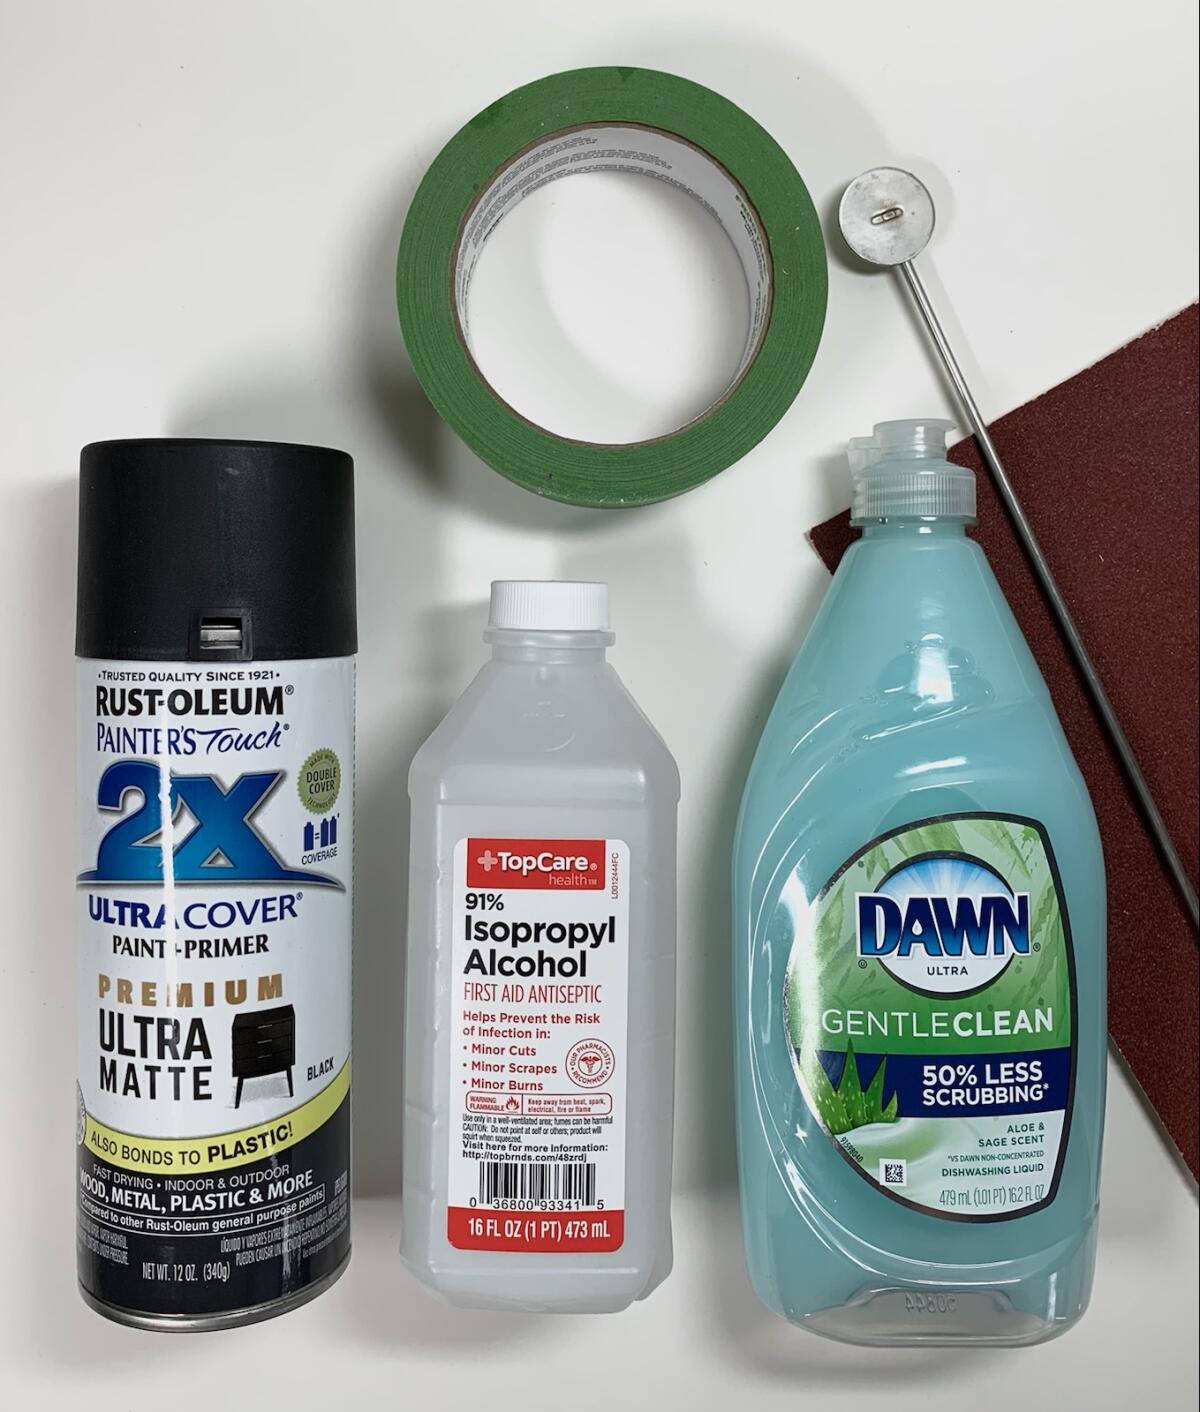
I like to gather my supplies first. There is nothing worse than being in the middle of something and then realizing you don't have what you need. So here is what you will need to paint your garden stake. Dish soap, paper towels, rubbing alcohol, sand paper, painter's tape, high quality spray paint (we use Rust-Oleum), and carboard/paper to spray paint on. After collecting all your supplies its time to paint!

1. Using the sand paper, scuff the entire garden stake (glue pad & stem) well. This will create a rough surface for better paint adhesion.
2. CLEAN! First use dish soap and water to clean the garden stake and dry with paper towels. Next clean the garden stake with the rubbing alcohol.
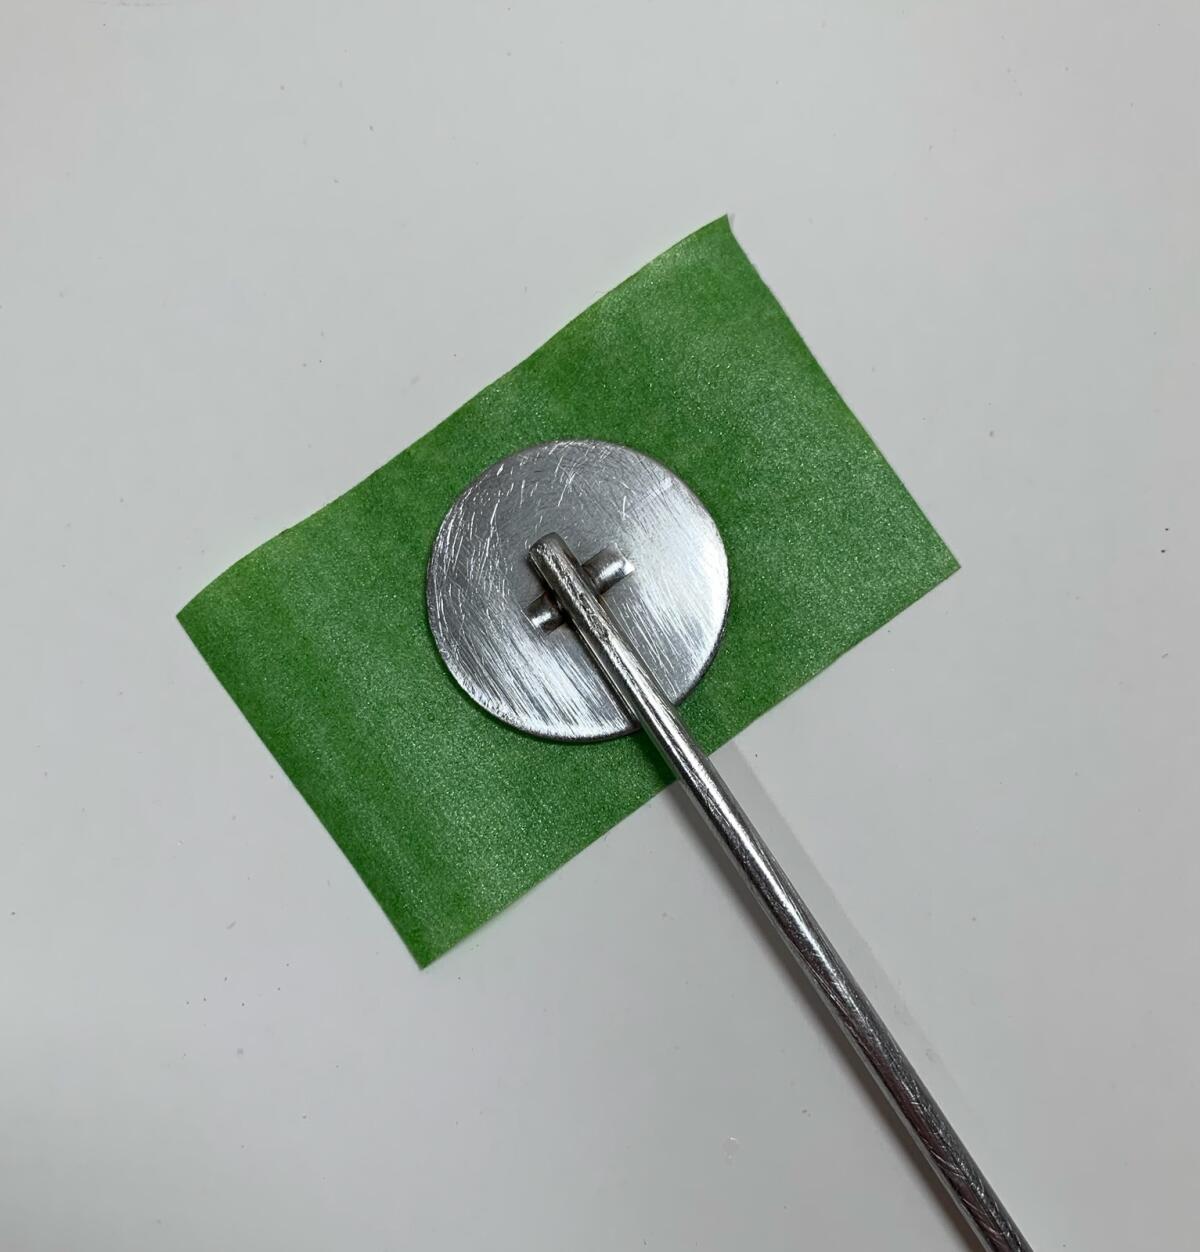
3. Mask off the glue pad with the painter's tape. You do not want the painter's tape to extend too far past the bottom of the glue pad. The glue pad should stay free of paint so that there is a paint free metal surface to glue your fused glass to.

4. Following the manufacturer's instructions paint one side of your garden stake and then let dry completely before flipping and painting the opposite side. After both sides have been painted and dry completely remove the painter's tape from the glue pad. Your painted garden stake is now ready to use!
