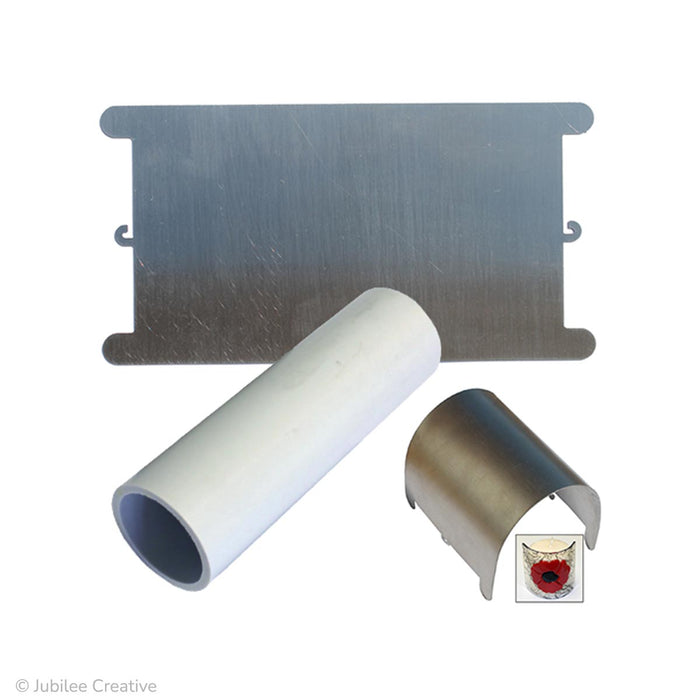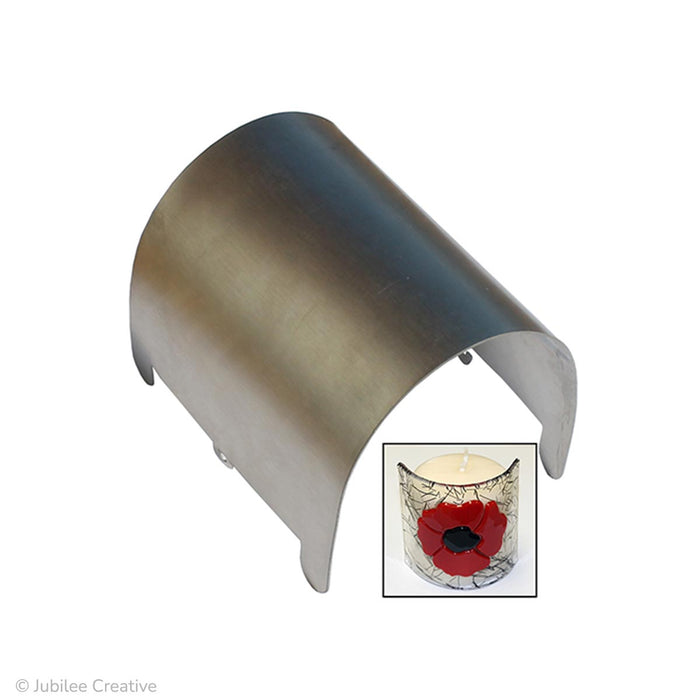
Stainless Steel Create-A-Curve Glass Slumping Mold | MM-120
Size:
Overall: 4" x 7 5/8"
Maximum Slumping Size: 4" x 6 1/2"
Stainless Steel Gauge: .025
Package includes bending instructions and PVC tube for bending. You will need high temp wire to securely hold the curve of the mold once formed.
Unlike other manufacturers permanently formed Stainless Steel molds, our unique design gives the artist a wide range of options to create a shape specifically tailored for the curve you desire.
Decorate your wine bottle or bottles of any kind with Jubilee Creative's new Create-A-Curve stainless steel glass slumping mold. Use this stainless-steel mold to create multi-diameter slumping curves to fit most any diameter bottle. Simply use the PVC tube provided to roll your desired shape from our precut stainless-steel form.
Mold Bending Instructions:
Safety First: Be sure to wear gloves to protect your hands while rolling and shaping your mold.
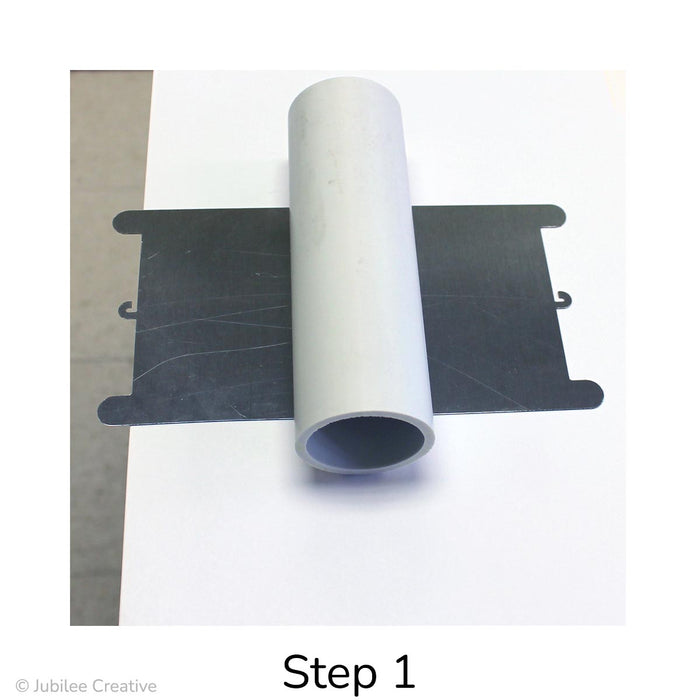
Step 1: Place the mold flat on a protected work surface so that the feet hang off and make sure the mold is flush with the edge of the work surface. Center the PVC pipe on the mold making sure it is parallel to the edge of your work surface.
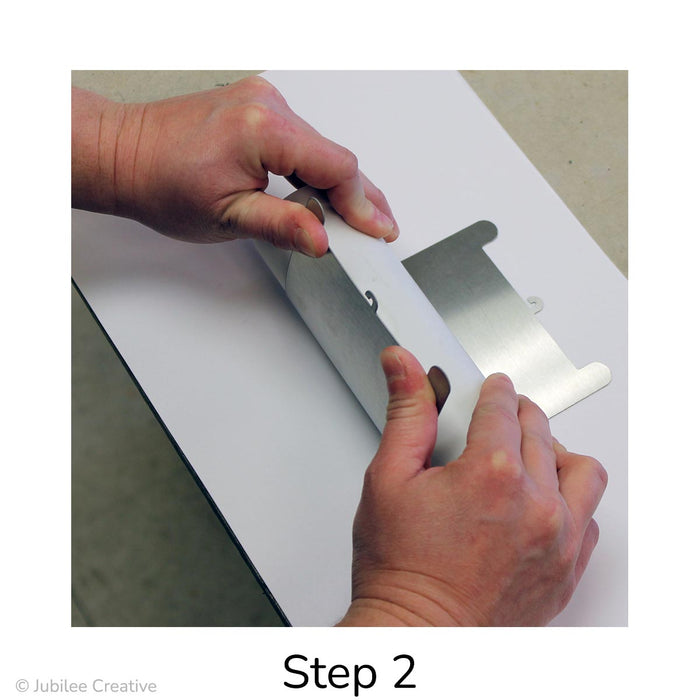
Step 2: Holding the pipe down firmly with both hands, grasp the tabs with your thumbs and pull them up and over to create your initial curve.
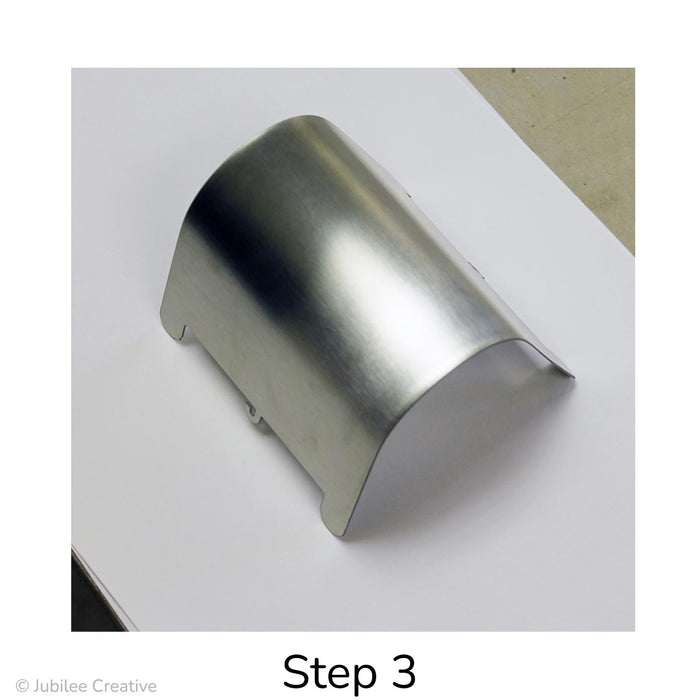
Step 3: Check the balance to make sure the feet are all well-aligned and evenly planted on your work surface. Adjust by squaring up the mold again and re-working the curve.
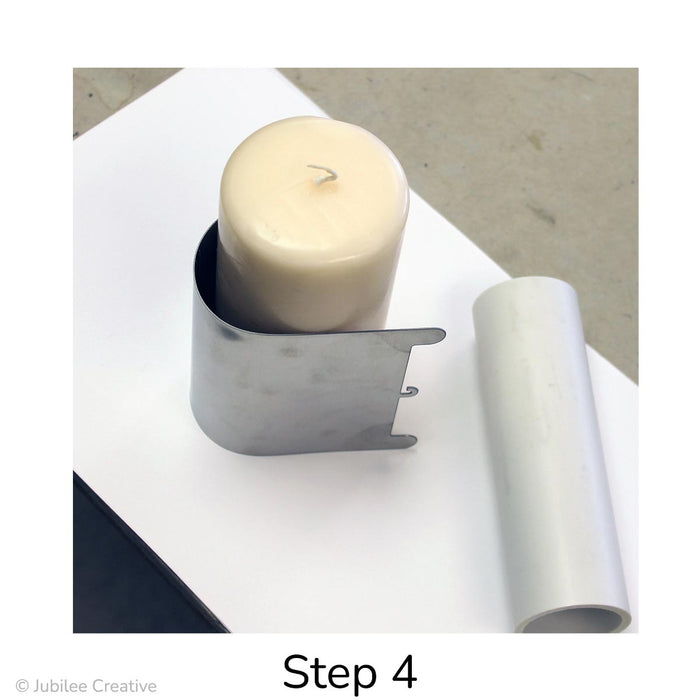
Step 4: Take the mold and check it against the candle to indicate where it needs to be adjusted.
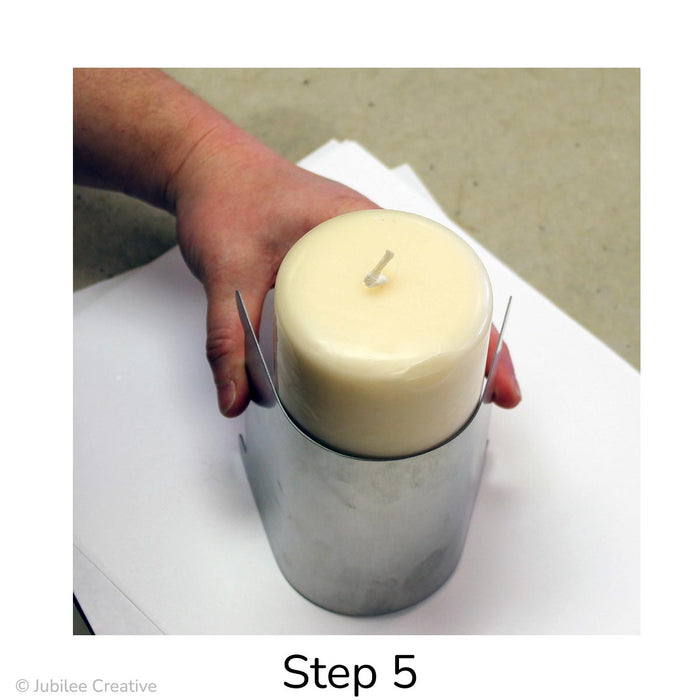
Step 5: Adjust the curve using the same basic technique, rolling it back and forth to mold the curve. Keep checking it and adjusting until you get the fit you want.
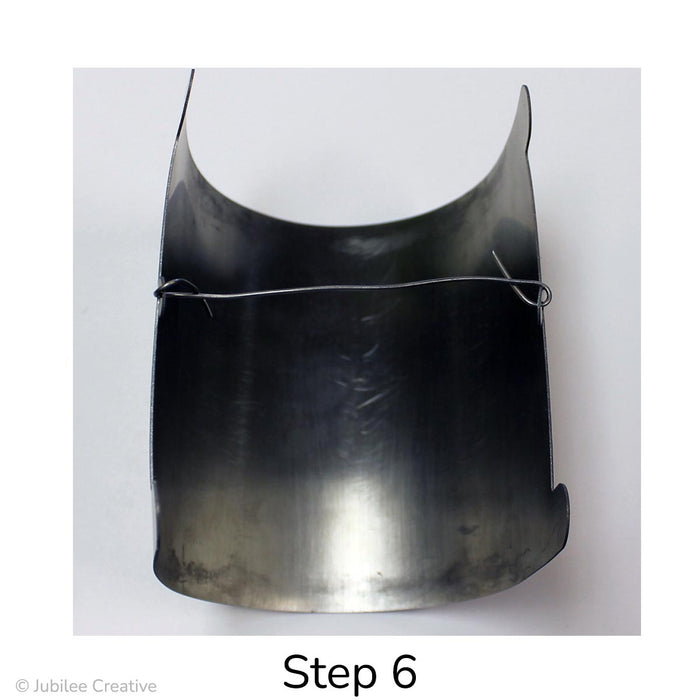
Step 6: Use a piece of high temperature wire to maintain the integrity of the curve while firing. Attach the wire to the hooks on the side of the mold.
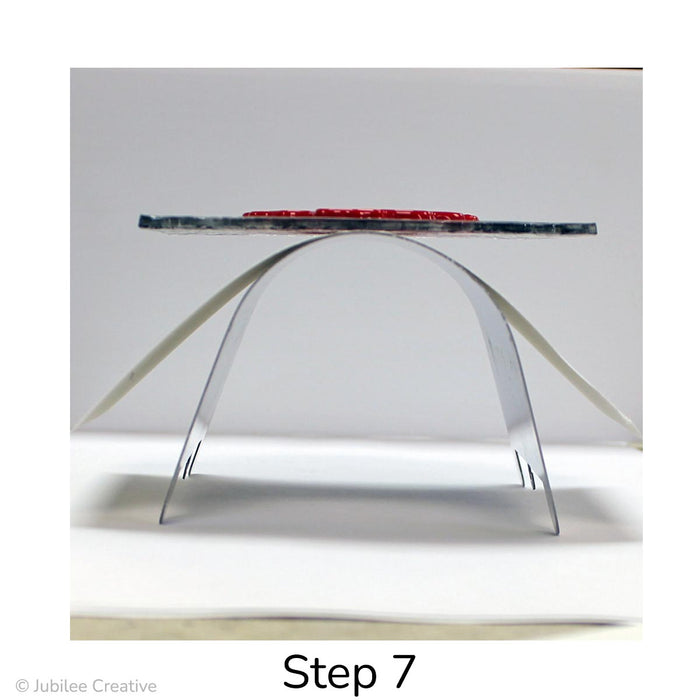
Step 7: Cut a piece of fusing paper the length and width of the mold. Place mold in your kiln. It is not necessary to elevate the mold on kiln posts. Next, balance the fusing paper and your glass project on top of the mold and fire using your kiln's standard slump firing schedule.
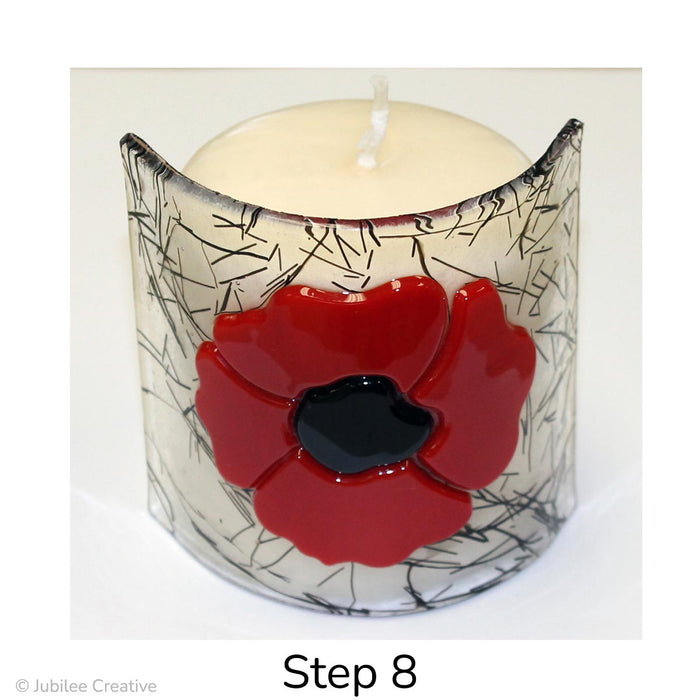
Step 8: Enjoy your creation!
Project Base Tips
Note: Cut your glass base no taller than 4" and no wider than half the circumference of your object.
1. Use a flexible measuring tape to measure the circumference of your object or take the diameter of your object times 3.14.
2. Divide the circumference of your object by 2 and round down. This will be the maximum width of your glass base. Note: This mold has a maximum width of 6 1/2".
Example: We had a 3" diameter candle. So, we took 3" x 3.14 giving us a circumference of 9.42" which we rounded down to 9". Divide 9" in half which gives us 4 1/2" to use as the width of our glass base. In our example we cut a 4" x 4 1/2" base.
Tip: When you add decorative elements to your glass base, you want to make sure everything is balanced from the center, so it will balance evenly on the mold for slumping.

