Bubble Art Basics: How to Create Bubbly Texture in Fused Glass
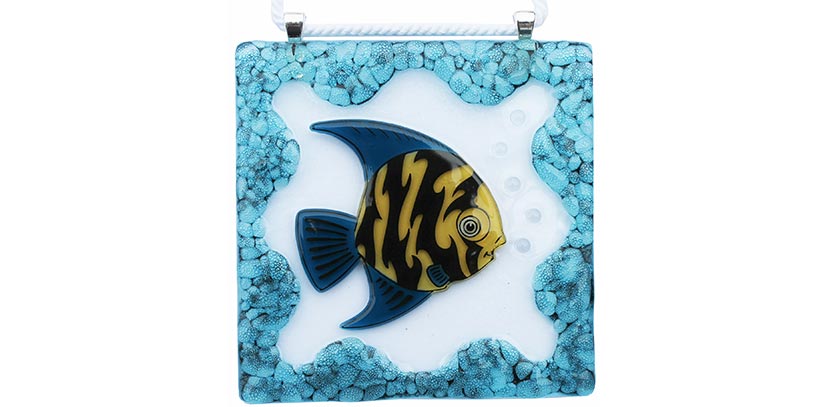
Bubble Art glass paints are a fun and safe way to add color and texture to your fused glass projects. These non-toxic, powder-based enamels mix easily with glass medium to create a smooth, paint-like consistency. Once applied and fused between two layers of glass, they react in a special way to form delicate bubbles, adding depth and a touch of magic to your artwork.
Getting Started
Mix equal parts of the Bubble Art powder and glass medium—though you can thin it out a bit if you prefer a lighter touch. Be sure to stir often as you work, since the color tends to settle at the bottom of your container. Keeping it mixed will help you get consistent results.
Paint Application
The way you apply the paint makes a big difference in the final look. If you use a liner brush to paint thin lines with little gaps between them, you'll end up with a neat row of bubbles. But if you paint solid areas, you’ll get a burst of bubbles spread all throughout that section. This is a great way to add texture and movement. You can also try dabbing on small dots of color, each one will create a little cluster of bubbles. It’s a fun way to add playful accents or create a bubbly pattern with a bit more control.
Try it on Top
Bubble Art paints aren’t just for layering between glass; you can also use them right on top! This gives your piece a unique, textured look and feel. Just keep in mind that when used on the surface, they’re not food safe. Some colors stay transparent, while others turn opaque, depending on how they’re applied. A lot of these effects come down to your technique, so it’s fun to experiment and see what you can create.
Sprinkle Technique for Scattered Bubbles
Another fun technique is to brush a layer of glass medium onto your base glass, then lightly sprinkle some dry Bubble Art powder on top using a palette knife. Once you cap it with a layer of clear or transparent glass and fire it, you’ll get individual bubbles forming right where the color was placed. It’s a great way to create scattered, eye-catching effects with lots of character.
Play with Consistency
You can also adjust the consistency by adding more glass medium; a thinner mix can give you softer effects, while a thicker mix creates bolder, more intense color. How you apply it plays a big role too, so don’t be afraid to experiment with different tools and techniques to see how the color and bubbles react.
How Grit Affects Color Intensity
Bubble Art paints have a much grittier texture compared to other glass paints we carry. That gritty stuff is what gives you those rich, intense colors—especially after firing. But if you’re going for a softer look, you can gently pick off some of the grit while it’s still wet, before it dries and sets in place.
Bubble Results by Glass Type
The size of the bubbles depends a lot on how hot you fire your glass—and every kiln behaves a little differently. In general, higher temperatures and longer hold times create larger bubbles. The type of glass you use also plays a big role. For example, float (window) glass fired to 1550°F produces the biggest bubbles. If you're using 90 COE glass and fire to 1525°F, you'll still get large bubbles. And with 96 COE glass fired to around 1450°F, expect medium-sized bubbles. Always test first to see how your setup reacts!
Whether you're just starting out or experimenting with new fused glass techniques, Bubble Art paints are a creative way to add color, texture, and dimension to your work. With a bit of testing and playful exploration, you'll discover just how magical those tiny bubbles can be! So grab your glass, mix up some color, and let the bubbles do their thing.
